Opening your first brokerage account is a major milestone—the gateway to the investing world. While it might seem intimidating, the process in 2026 is more streamlined and user-friendly than ever. This guide will walk you through the entire journey, from choosing a platform to making your first trade, in five clear steps.
Step 1: Understand What a Brokerage Account Is
A brokerage account is a specialised type of financial account that allows you to buy and sell investments like stocks, bonds, ETFs, and mutual funds. Think of it as the digital “gate” through which your money enters the financial markets. It’s different from a standard bank account because its primary purpose is holding and transacting securities, not just cash.
Key Takeaway: You need a brokerage account to invest on your own. It’s the essential tool that connects your savings to the global marketplace.
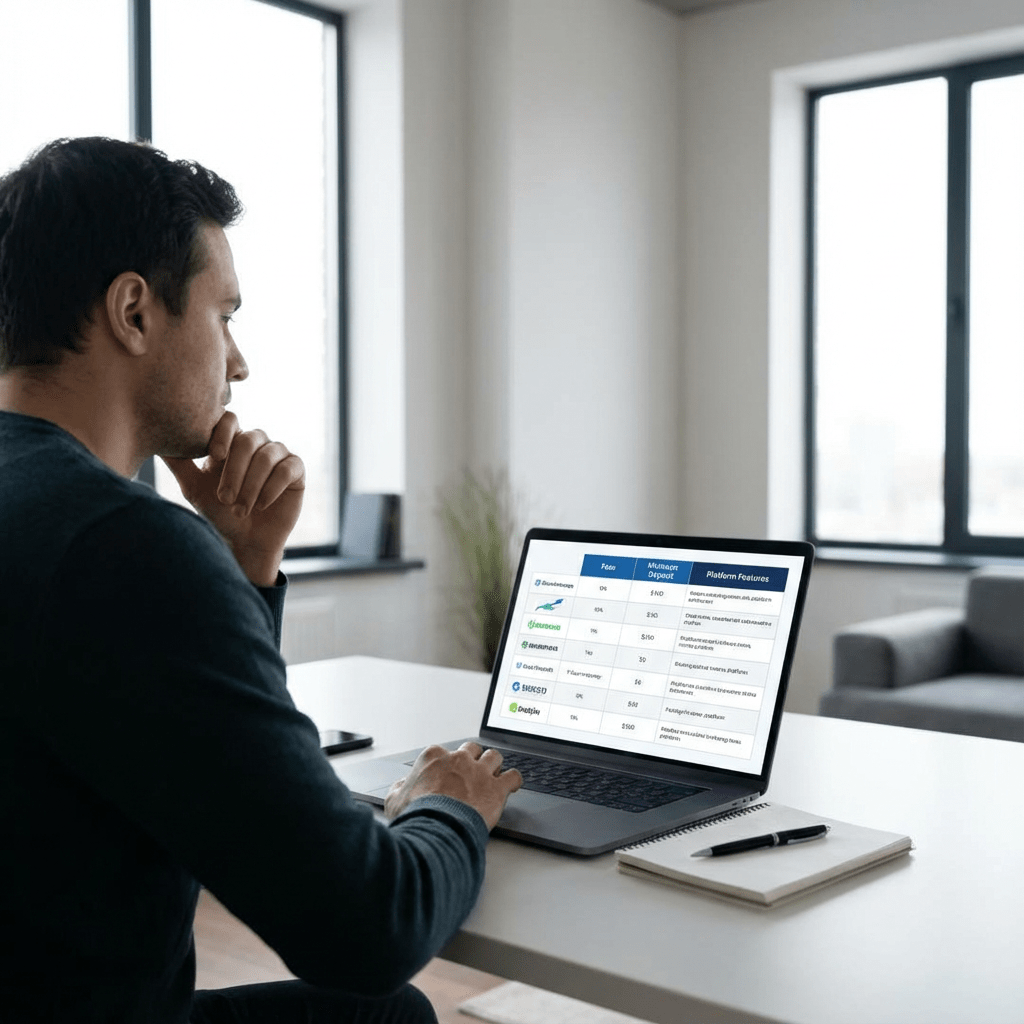
Step 2: Choose the Right Broker for You (The 2026 Landscape)
The “broker” is the company that operates your account. Your choice will define your investing experience, costs, and available tools. In 2026, you’ll generally choose between three main types:
1. The Online-Only Broker (The Low-Cost Leader)
These are app and web-based platforms designed for self-directed investors. They offer ultra-low fees (often commission-free stock/ETF trades), intuitive interfaces, and educational resources. They are ideal for beginners focused on simplicity and cost-efficiency. Examples in 2026: Likely evolved versions of today’s leaders like Vanguard, Fidelity, and AJ Bell Youinvest.
2. The Robo-Advisor (The Hands-Off Manager)
This isn’t a traditional brokerage account, but a popular alternative for first-timers. You answer questions about your goals and risk tolerance, and an algorithm builds and manages a diversified ETF portfolio for you, all for a small annual fee. It’s perfect if you want to start investing but don’t want to pick individual stocks. Examples: Wealthify, Moneyfarm.
3. The Traditional Full-Service Broker (The Guided Path)
These firms offer personalised advice and comprehensive financial planning alongside trading services. They are suited for those with significant assets or who prefer professional guidance, but come with much higher fees. Examples: Private client services from major banks.
Decision Point: For most first-time investors in 2026, an Online-Only Broker or a Robo-Advisor is the best starting point due to low costs and ease of use.
Step 3: Prepare Your Information and Documents
The sign-up process is fully digital and takes about 15-20 minutes. To avoid delays, have this information ready on your phone or computer:
- Personal Details: Full legal name, date of birth, nationality, and National Insurance Number.
- Contact Information: Current address (proof may be required), email, and phone number.
- Employment & Financial Details: Your occupation, employer’s name, and an estimate of your annual income and net worth (this is standard regulatory practice).
- Government-Issued ID: A valid passport or UK driving licence for identity verification.
- Funding Method: Your bank account details to transfer your initial deposit.
Step 4: The Application Process Demystified
Once you’ve chosen your broker, follow these universal steps on their website or app:
- Initiate Application: Click “Open an Account” and select “Individual Brokerage Account” (often called a General Investment Account or GIA).
- Complete the Forms: Fill in the digital application with the information you prepared. Be accurate and consistent.
- Answer the Suitability Questions: You’ll be asked about your investment experience, financial goals, risk tolerance, and time horizon. These questions are required by regulators to ensure you understand the risks.
- Choose Your Account Type: For most, a standard taxable account (GIA) is the first step. You can explore ISAs (tax-free accounts) later.
- Verify Your Identity: You’ll upload images or scans of your ID. Many brokers use instant electronic verification.
- Review and Submit: Carefully review all your entries, agree to the terms and conditions, and submit.
Approval is often instant or can take 1-3 business days. You’ll receive a confirmation email once your account is live.
Step 5: Fund Your Account and Place Your First Trade
Your account is open, but it’s empty. Now, it’s time to activate it.
A. Transfer Funds: Navigate to the “Transfer” or “Deposit” section. Link your current account and initiate an electronic transfer. Start with a small, comfortable amount you’re willing to invest for the long term (e.g., £100-£500).
B. Make Your First Investment (The Smart Way): With the money settled in your brokerage account, you’re ready to invest. For your very first trade, we strongly recommend starting with:
- A Single, Broad-Market ETF: Such as a fund that tracks the FTSE All-World Index. This one purchase gives you instant ownership in thousands of global companies.
- A Fractional Share: Of a large, well-known company if you want to start with a single stock. Many brokers now allow you to buy a £10 slice of a major company.
Enter the investment’s ticker symbol (e.g., VWRL for a popular global ETF), select “Buy,” choose “Market Order,” and confirm the trade. Congratulations—you are now an investor.
Your First-Week Checklist
✅ Research and select a broker suited to a beginner.
✅ Gather your personal and financial details.
✅ Complete the online application honestly.
✅ Fund your account with a starter amount.
✅ Make your first, simple, diversified investment.
✅ Set up a login alert to monitor your account activity.
Next Steps: Let your first investment sit and grow. Focus on learning, not checking prices daily. Your next move could be setting up a regular monthly deposit to build your portfolio automatically—a powerful habit called “pound-cost averaging.”
Disclaimer: This article is for educational purposes only and does not constitute financial advice. The value of investments can go down as well as up. Past performance is not a reliable indicator of future results. Consider seeking advice from a qualified financial advisor.

Leave a comment